Setup Your System for Data Science
As you begin your journey as a Data Scientist, it is important to get familiar with tools on your own system in addition to tools in your web browser. There are several major advantages to running code locally (on your own computer) rather than in your web browser:
- You can use datasets on your computer (without needing to upload them online),
- You are not restricted to the compute time or memory limits on web-based notebooks,
- and more!
We will present small examples in class using online notebook environments in our web browsers (e.g. using Google Colab), but labs and projects will be done on your own machine. (We strongly recommend using Visual Studio (VS) Code, and this guide will set you up with VS Code, but any code editor that can edit a Python notebook can be used.)
Step 1: Ensure your Operating System is Up to Date
Throughout this semester, we will use Python packages. Similar to apps on your phone, Python packages only offer support for the latest versions of Windows and Mac OS X. It's important you make sure your version of your operating system is up to date.
macOS: On the top-left of your screen, click the "Apple Icon" and then click "About This Mac".
- In the "About The Mac" window, look for the line that starts with "macOS".
- As of Fall 2025, the latest version of macOS is Sequoia 15. If you do not have Sonoma 15 (or a larger number), you will need to update your Mac to Sequoia. Follow Apple's guide to update macOS
Windows: All mainline version of Windows 10 or Windows 11 are supported by Python.
Step 2: Install Python
Python is a free and widely used programming language and it is easy to install.
Recommended: Using the OS Default Install
The strongly preferred way of installing Python is to install it through your operating system. To do that:
Step 2(a): Open Your Terminal
- Open your computer's terminal application, following our guide "Your System's Terminal"
Step 2(b): Run python3
Inside of your terminal, type python3 and then press the <Enter> key.
❗ If you do not have python3 installed, your operating system will prompt you to install it.
- On macOS, it will prompt you to allow OS X to install it on your system (it's free).
- On Windows, it will open it up in the Microsoft Store. Use it to "Get" (it's free).
- Install python3 and then repeat this step. :)
✔️ If you already have python3 installed, you will see something similar to:
Python 3.13.3 (tags/v3.12.5:d2340ef, Apr  8 2025, 05:45:37) [MSC v.1934 64 bit (AMD64)] on win32
Type "help", "copyright", "credits" or "license" for more information.
>>> _
- This means you now have Python installed! 🎉
- Type
exit()followed by <Enter> to exit Python. We'll dive more into Python very soon. :)
Alternative: Manual Download
The default instructions provided above are strongly preferred because it leads to fewer setup errors. However, if you are unable to install python3 by running python3 from the terminal, you can manually install it:
- Download Python from python.org
- We recommend the latest stable version (3.13.x, as of August 2025).
- Install the Python you just downloaded
Step 3: Install Visual Studio Code
The most widely used free tool for editing Python notebooks is Visual Studio Code by Microsoft. Visual Studio Code (or simply just "VS Code") is free and open source! It is an industry-standard tool used by millions of programmers daily:
- Download Visual Studio Code from Microsoft
- Install the Visual Studio Code you just downloaded
Step 4: Installing the Python and Jupyter Plugins in Visual Studio Code
Once you have installed VS Code, you will need the python and jupyter plugin to run Python notebooks. Both of these plugins are built by Microsoft and are also free and open-source.
Launch VS Code (you may have to click through some set up options if you are opening VS Code for the first time).
In Visual Studio Code, find the left panel and select the icon with multiple square boxes that is labeled "Extensions" if you hover over it.
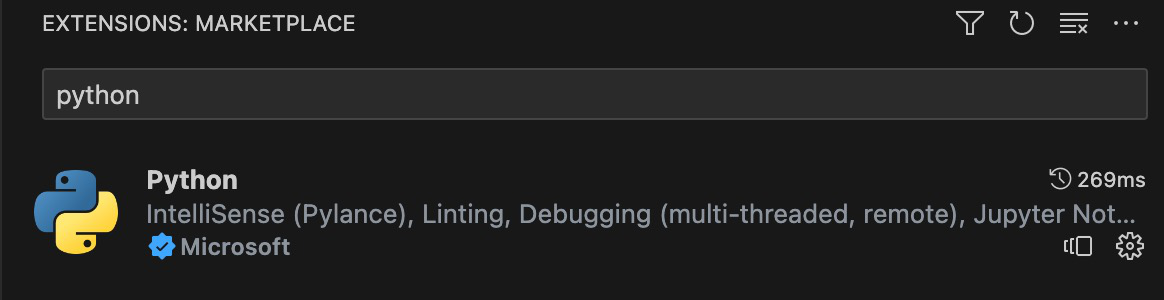
- In the "Extensions" window, search for python and find the Python plugin by Microsoft and install it:
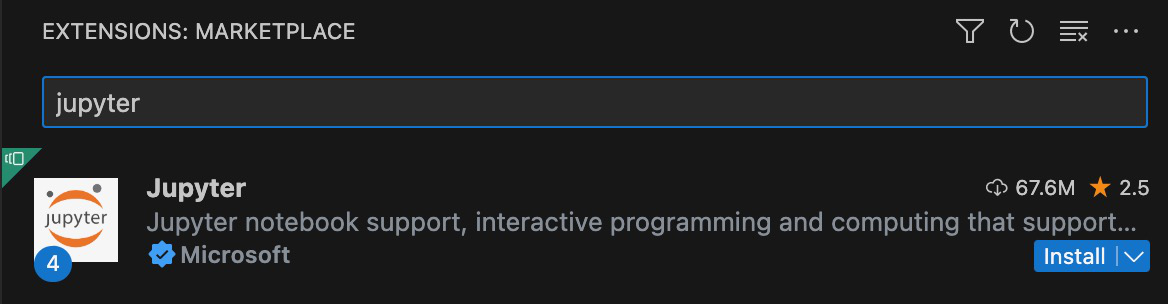
- In the same "Extensions" window, search for jupyter and find the Python plugin by Microsoft and install it as well:
Confirming Configuration
Once you have the python and jupyter extensions installed, you will now confirm that everything is set up and ready to do data science!
In Visual Studio Code, press
Ctrl(Cmdon a Mac) +Shift+Pto open the "command palette". Start to type jupyter and then select Jupyter: Create New Blank Notebook.In your notebook, copy the following code:
3 + 4Press
Shift+Enterto run the cell (or press the run button).- If you are asked to select a "kernel" or "runtime environment", select the version of Python with the largest number (ex:
python3.13). - You may be prompted to install
ipykernelor other Python libraries. Allow Visual Studio code to install them. - ✔️ If you see the answer
7, Visual Studio Code is all set for running Python!
- If you are asked to select a "kernel" or "runtime environment", select the version of Python with the largest number (ex:
Step 5: Installing pandas and matplotlib
Finally, you'll need to install the pandas library to do data science!
- Inside of Visual Studio Code, press
Ctrl + ~to open the integrated terminal. - In the terminal, type the following:
python3 -m pip install pandas matplotlib
You can do the following to confirm that the pandas library was properly installed:
In your same notebook, copy the following code:
import pandas as pd
pd.DataFrame({"data": [1, 3, 5, 3, 1]}).plot.bar()
Press
Shift+Enterto run the cell (or press the run button). If you're asked to choose a kernel, choose the latest version (ex: 3.13).- ✔️ If you see a simple bar graph, you're all set to do Data Science in Python!