Data Science Mosaic Project
Here is one of my absolute favorite photos from the Illinois' official Instagram account: @illinois1867

What if we used Data Science to transform this image into something amazing? This project will have you apply your Data Science skills to creating an image mosaic out of any image you have made up entirely of your other images! For example, here is the mosaic I created when developing this project -- the picture on the left is entirely made up of only images from @illinois1867:
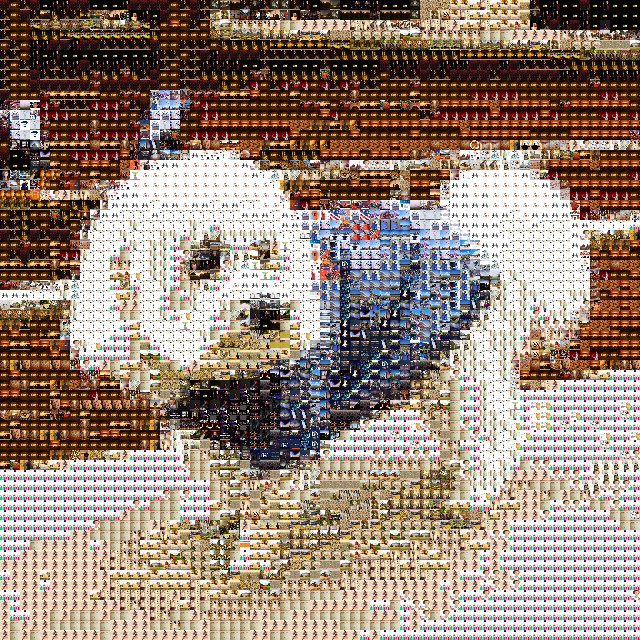 | 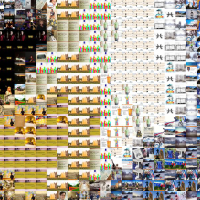 | 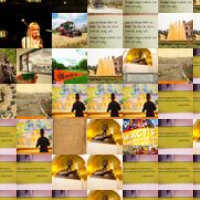 |  |
| Mosaic made up images from @illinois1867 | 5x Zoom | 25x Zoom | 50x Zoom |
Project Overview
To complete this, you will need to do three things:
Find a base image that you want to make into a mosaic. This can be any image but a photo usually works best.
Find a lot of tile images that you want to use as your mosaic tiles. You can use the set of images from Illinois' Instagram account to start with (download link further down) but you will need to choose your own at the end.
An algorithm -- that we will help you develop -- to find the best tile image to replace for every region of the base image.
Installing Python Libraries
We use the scikit-image, pillow, and pillow-heif Python libraries to help us analyze our image. To install these libraries, run the following:
python3 -m pip install scikit-image
python3 -m pip install numpy pillow pillow-heif
Initial Files
In your DISCOVERY directory, fetch project_mosaic from the release repo:
git fetch release
git merge release/project_mosaic --allow-unrelated-histories -m "Merging initial files"
Part 1: Finding Your Base Image
Find any image that you want to create into a mosaic:
Mosaics work the best when the image has lots of different regions of color, so photos usually work the best.
Once you have picked your image, save it in your
project_mosaicfolder. We'll add the filename to our source code later!
Part 2: Finding Your Tile Images
A mosaic is made up of many small, square tiles. These images come from the set of tile images you gather, and the more images you have the better!
Tile images can be ANY images you have -- it's the most fun when you use images that have a common theme.
In general, you want at least 100 tile images to get a good mosaic since you will be replacing each region of your base image with one of your tile images. The more tile images you have, the better the match can be for each tile image and the better your mosaic will look.
Create a new directory inside of your
project_mosaicwith your tile images.
Gathering Images
To help you get started, here is a download that contains all of Illinois' images from their Instagram.
It's more fun if you use your own:
- Use all images you posted on your Instagram: Clare and Michelle's Guide to Downloading All your Instagram Images
- Alteratively, you can download pictures from your iCloud / Google Images to use as tiles.
- You can use Google's "Image Search" to search for a specific theme and start downloading images from Google.
- Or any other set of images files you have! :)
Part 3: Developing the Algorithm
Inside of your project_mosaic directory, you should see the project_mosaic.ipynb notebook. Before you get started, here's a brief overview of the algorithm you will develop:
Tile Images
Whenever you develop an algorithm, we want to begin with a simple example and work up. Instead of thinking of all the tile images you will be using, let's consider just four tile images as our set of tile images:
 |  |  |  |
| tile1.png | tile2.png | tile3.png | tile4.png |
You will have hundreds of these images in your set of tile images instead of just the four I used here.
Base Image Tiles
The goal is to create a mosaic out of the tile images that resembles the base image. You will decide how many tiles you want on your base image -- let's start simple with just four tile images across the image:
| 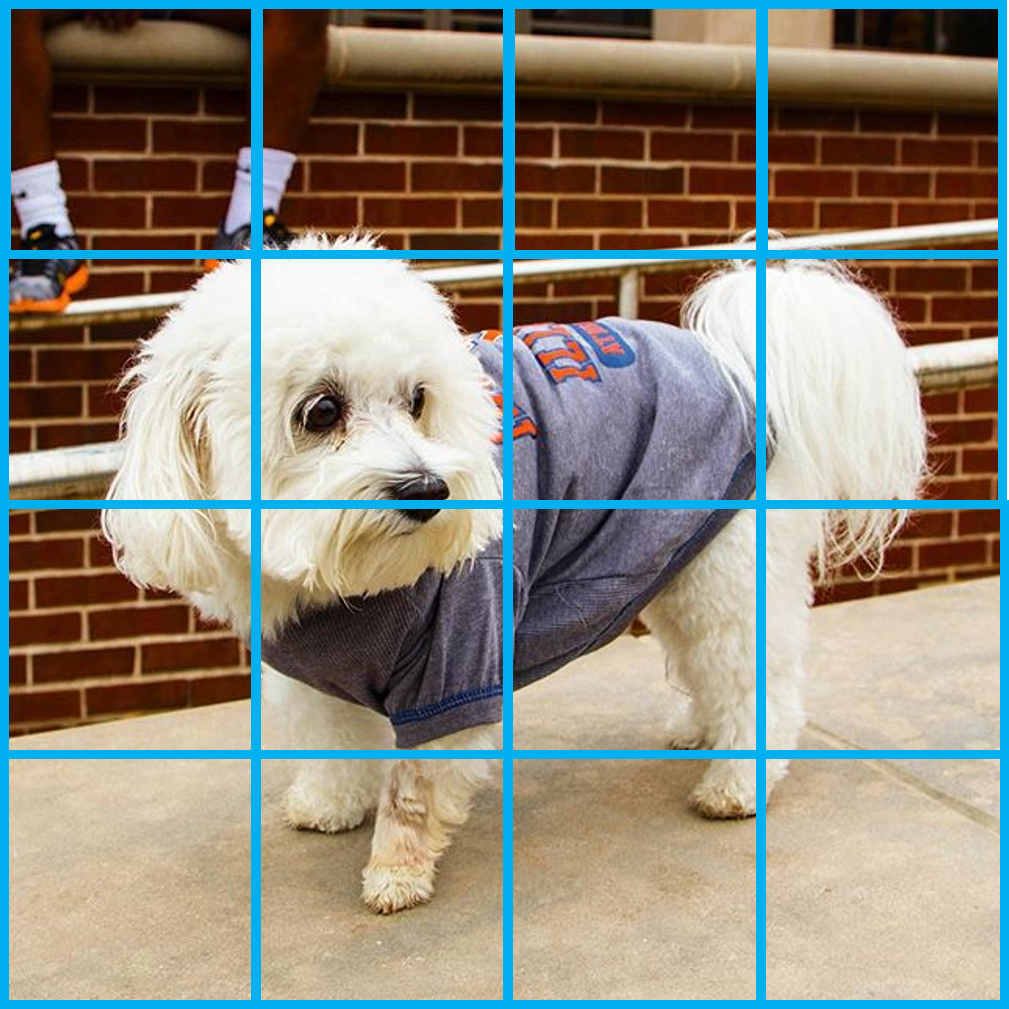 |
| base.jpg | base.jpg with a grid overlay |
Finding the Best Replacement
To find the best replacement among your tile images, there are three key steps:
- Find the average color of every single tile image,
- Find the average color of every single mosaic segment,
- Find the best match to replace the segment of the image with the tile image
Start Programming
Open project_mosaic.ipynb to find your Python notebook with eight sections to build this algorithm using Python and Data Science!