DataFrame of Your NWS Weather Forecast 🌩️
MicroProject Overview
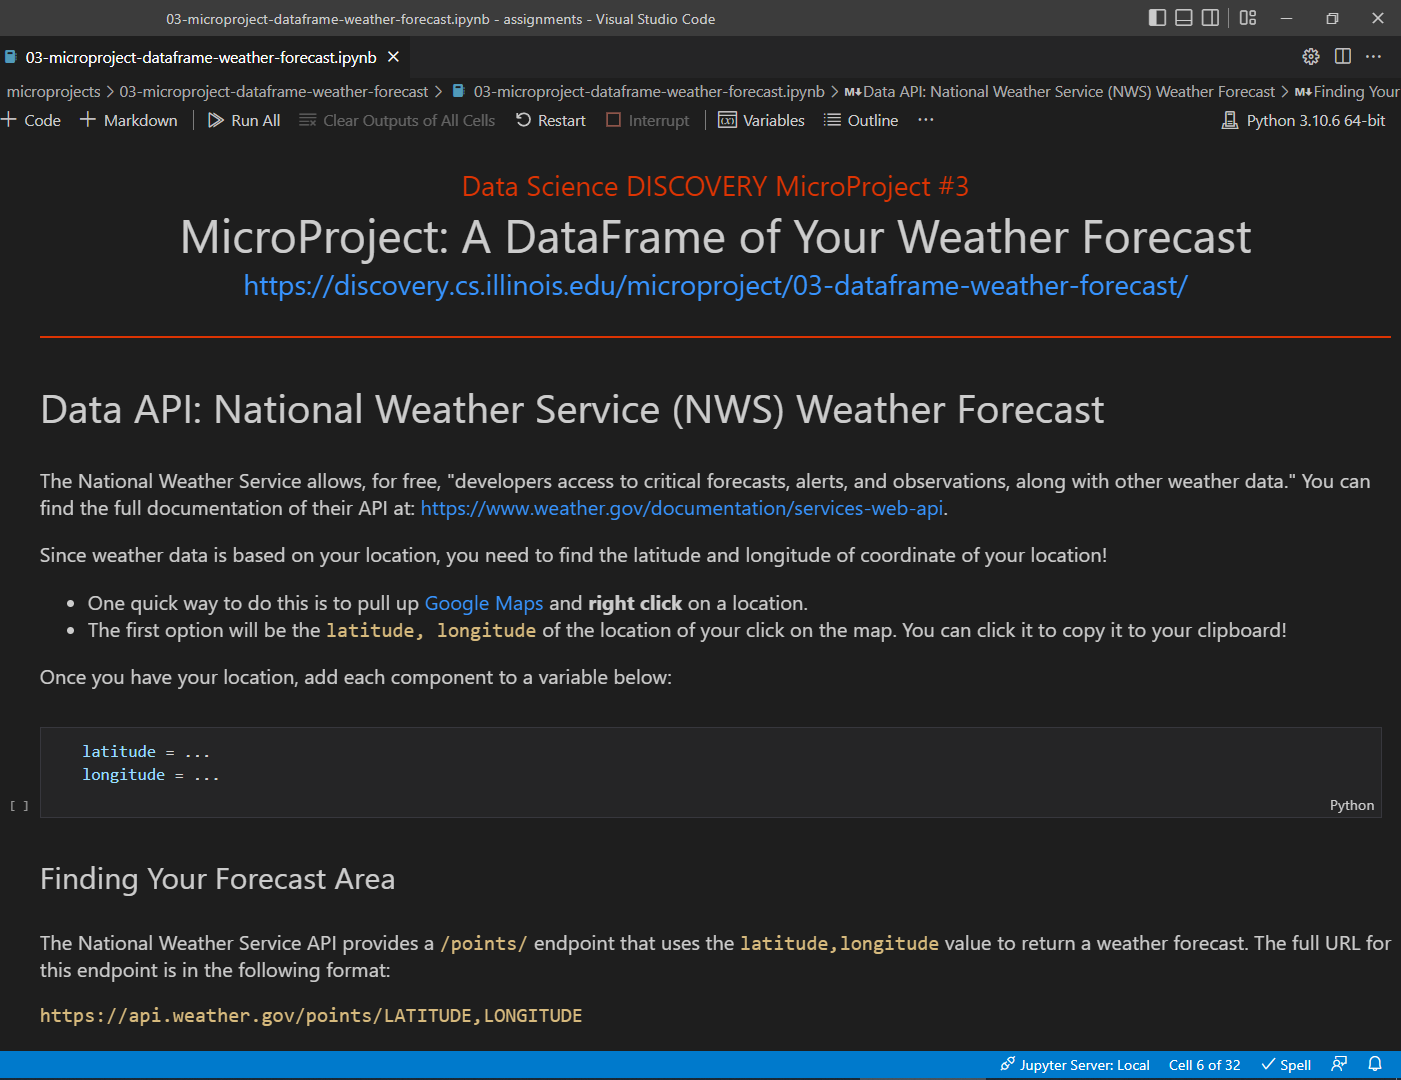
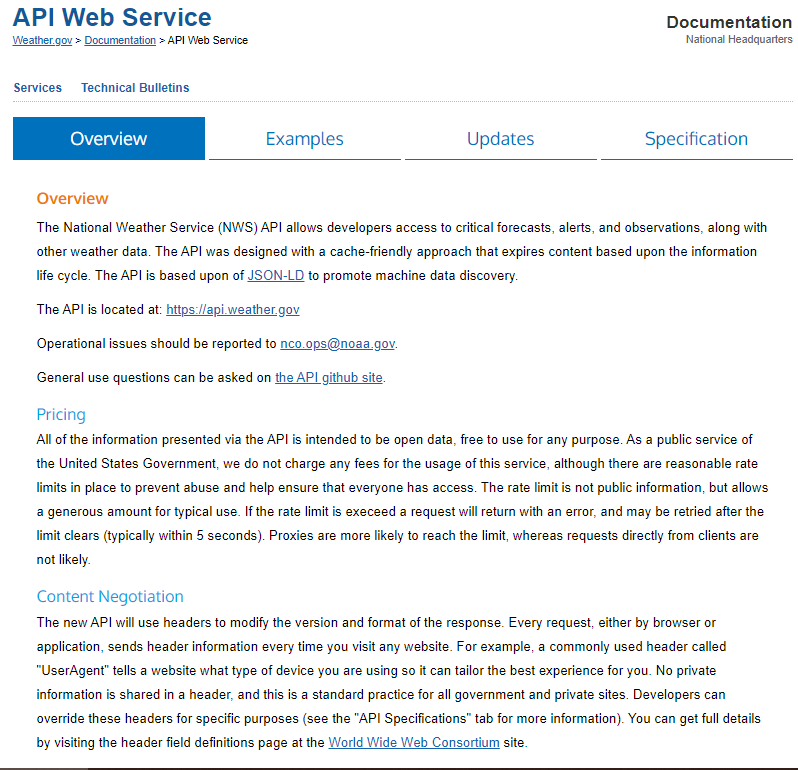
The National Weather Service allows, for free, "developers access to critical forecasts, alerts, and observations, along with other weather data." In this MicroProject, you will explore using the weather.gov API service to get the weather for your location. Let's nerd out!
First Time Doing a MicroProject?
Each MicroProject starts with a notebook that we provide to you to get started! You will need to configure a git repository to connect to our `microprojects` remote where we release the starter notebook.
- Follow our Guide: "First Time Setup for MicroProjects" to get set up!
Fetch the Initial Files
In your terminal, navigate to your GitHub repository and merge the initial files by running the following commands:
git fetch microprojects
git merge microprojects/microproject-dataframe-nws-weather-forecast --allow-unrelated-histories -m "Merging initial files"
Complete the Notebook
If the commands above were successful, you have merged in the initial files to start on the MicroProject.
- Find the new
microproject-dataframe-nws-weather-forecastfolder. - Open
microproject-dataframe-nws-weather-forecast.ipynband complete the MicroProject!
Commit and Grade Your Notebook
Once you have finished your notebook, you must use the built-in GitHub Action to preform automated grading of your MicroProject notebook! You will need to commit your work and then manually run the GitHub Action.
Commit Your Work
To commit your notebook, run the standard git commands in your terminal:
git add -u
git commit -m "microproject completed"
git push
Grade Your Notebook
To grade your notebook, you will need to visit your GitHub repository in your browser.
- Visit your GitHub repository in your browser
- Click on the "Actions" tab
- Under "Workflows", find the workflow for this microproject
- Click the "Run Workflow" in the blue box, and then the green "Run Workflow"
- After about 10 seconds, you should see a new job that has started running
- You can click on the job to watch it run in real-time
- It will take ~1 minute to run and grade
- Once the running is complete, the autograding summary will be available!